To retrieve an export via the Windows Task Scheduler, you require a download client. In principle, all web browsers (Chrome, Firefox, Internet Explorer etc.) can download a file. However, these prove to be suboptimal, since for automation they often ask for a storage location and confirmation.
Under Linux, for example, it is possible to download a file fully automatically via Wget without being asked for confirmation. Under Windows, however, this possibility does not exist as standard.
Therefore, we recommend Wget for Windows, a version of the Linux download client that will work on Windows. The program requires neither installation nor administrator rights.
You can download Wget for Windows here. It is best to place the program in the destination folder of your exports (e.g. C:\Exports).
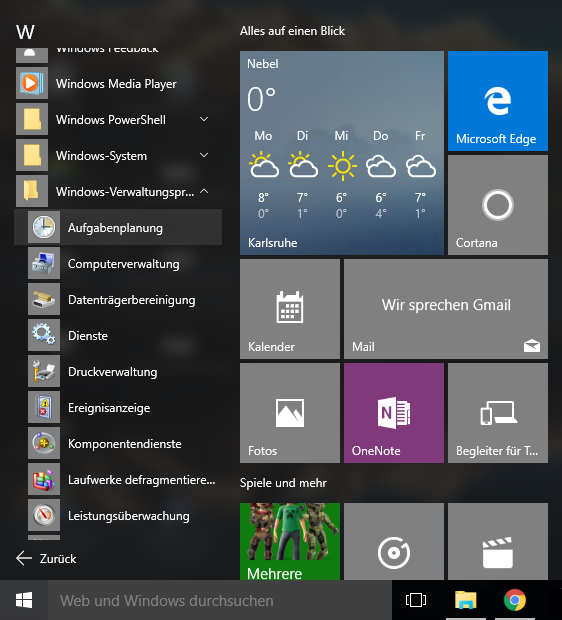
Now open the WIndows start menu and search for ‘Task Scheduler’.
Alternatively, choose START -> (All Apps) -> Windows Management Tools -> Task Scheduler
In the ‘Action’ menu item, select ‘Create New Job’ (1).

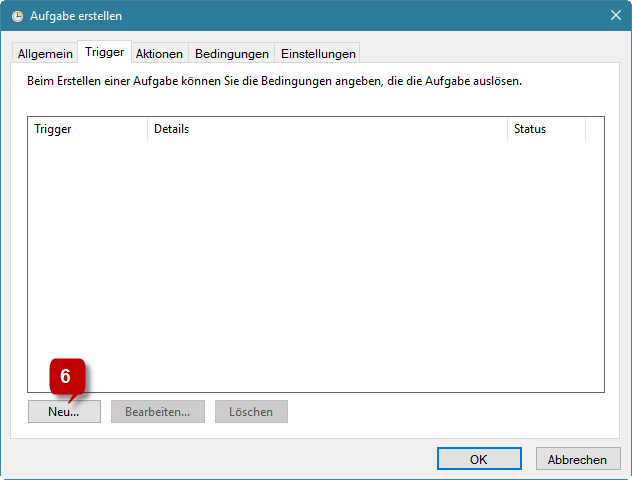
Enter a name (2) and optionally configure general settings for this task, such as a description (3) or security options (4). Then switch to the ‘Trigger’ (5) tab.

Click ‘New…’ (6) to create a schedule tailored to your needs.
In the following example (7), the task is executed once a day at 8:00 a.m., starting from the 01.01.2020. You can define more settings further down (8), depending on your requirements.
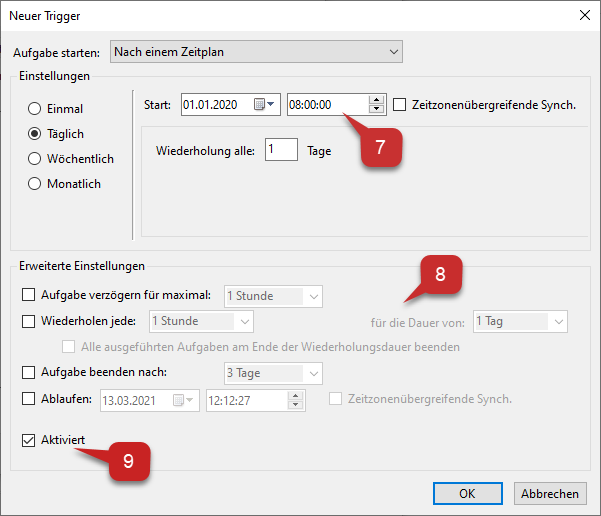
Make sure that the schedule is enabled (9) and close these settings by selecting ‘OK’.
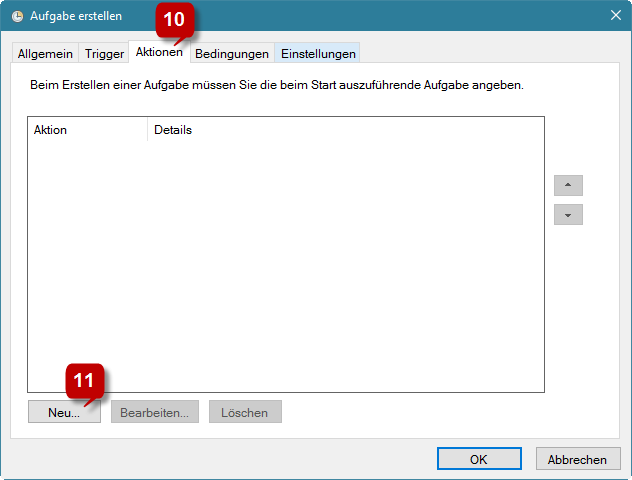
Now switch to the ‘Actions’ (10) tab and create a new action by clicking ‘New…’ (11).
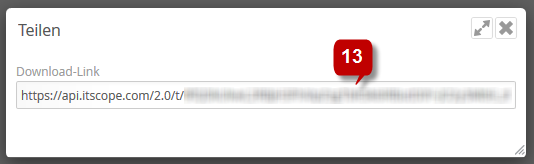
At the same time, open the export management page on the ITscope platform and select the appropriate export. Then click the share button (12).

You will then see the download link (13) for the export. This link already contains the correct authentication and your API key in encrypted form.
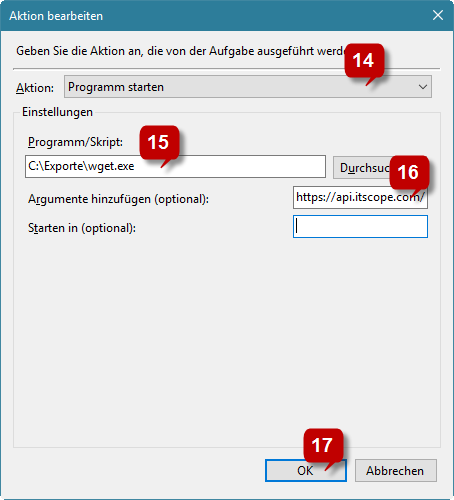
Return to the Task Scheduler, and choose ‘Start program’ (14). Enter the path to wget.exe in the Program/Script (15) field, e.g. C:\exports\wget.exe.
Now enter the download link of your export in the ‘Add arguments’ field (16), and confirm with ‘OK’ (17).
Use the ‘Conditions’ and ‘Settings’ tabs in case you want to make further adjustments. In the ‘History’ tab you can see a history of the execution of this task. Since the task has only just been created, there should not be any entries at this point.
The newly created task can be found in the “Task Scheduler Library”(18) on the overview page. You may already have other tasks listed here (e.g. Google Update Task or Adobe Updater).
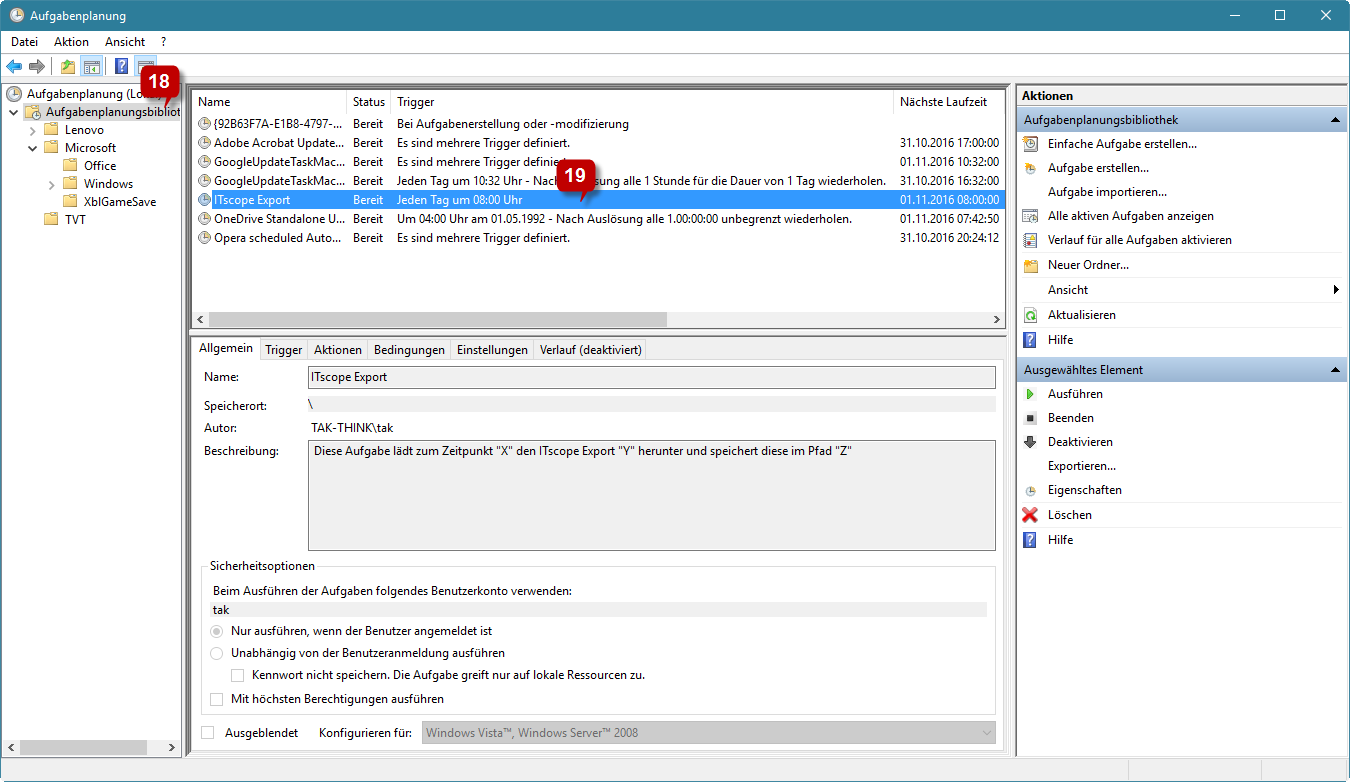
Here, the created task can also be executed with a right-click.
You can, of course, adjust the parameters for Wget according to your requirements (e.g. storage location etc.). More information can be found in the Wget documentation.