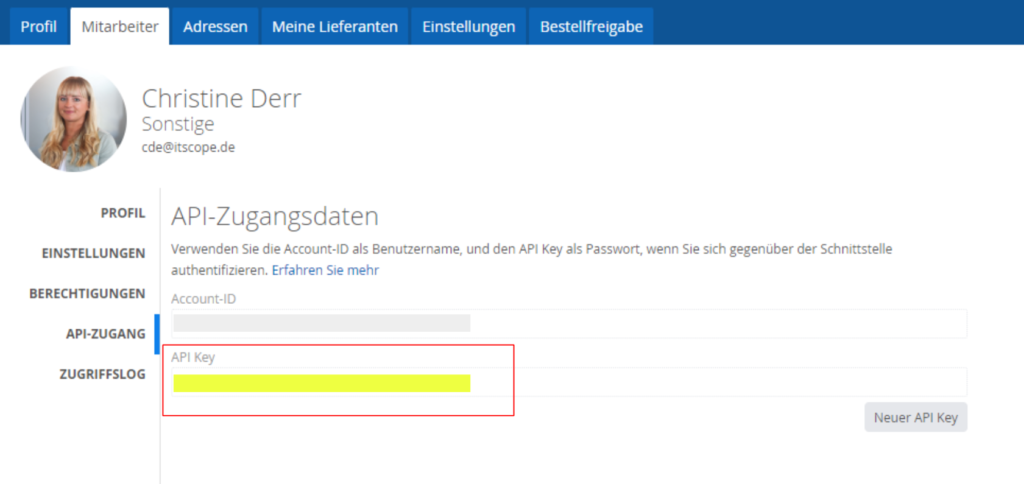
- To establish a connection to ITscope in Syncspider, the ITscope API Key is required. You can find this under “My Profile” -> “API Access”.
You can find the detailed description here: Where can I find my individual API key?
2. Copy your ITscope API Key and store it in the “Setup ITscope Integration” in your Syncspider in the field “API Key”:
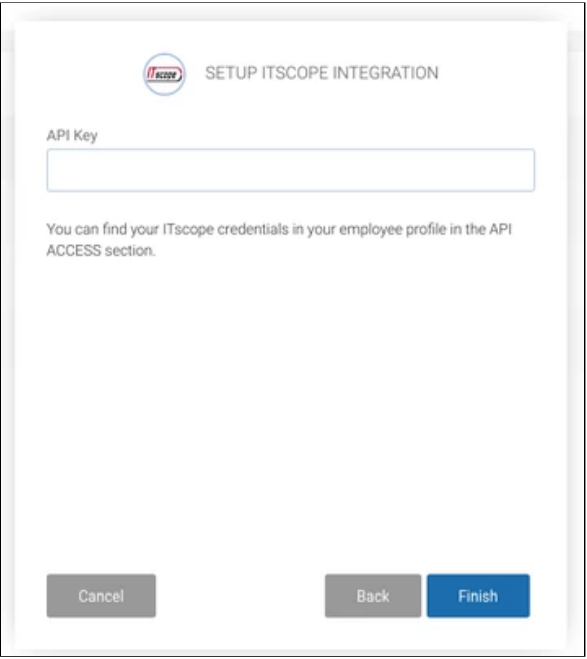
Once you have successfully entered the API key, confirm/save it – the connection to ITscope is now established.
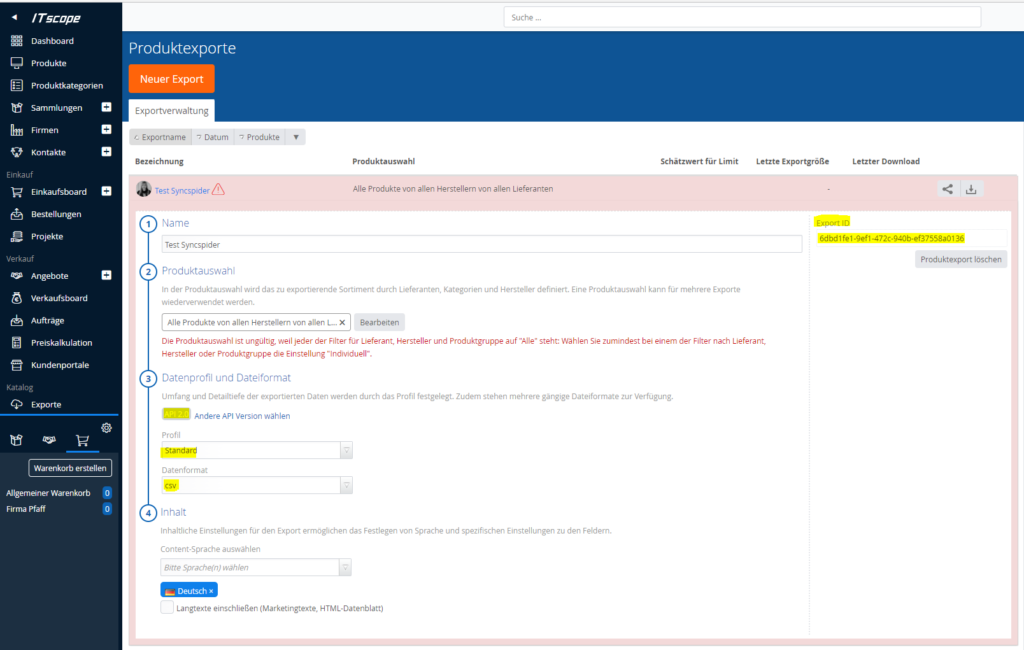
3. Now you need to define the desired product export in ITscope, which can then be called up in Synspider via the ITscope ExportID and imported into your corresponding shop system.
To do this, go to ITscope and create an export with your desired product selection. Detailed information on how to create an export can be found here: Creating data exports – ITscope Guide.
In the export settings, it is mandatory to select the following settings under “Data profile and file format”:
- API 2.0
- profiles: Standard
- Data format: JSON
These settings are a prerequisite for the product data to be imported correctly via Syncspider into your shop system.
Now copy the export ID, which you will find at the top right (see screenshot).
4. Now go back to Syncspider and enter the ITscope ExportID in the settings under “CONFIGURE ITSCOPE PRODUCT” in the field “Export ID
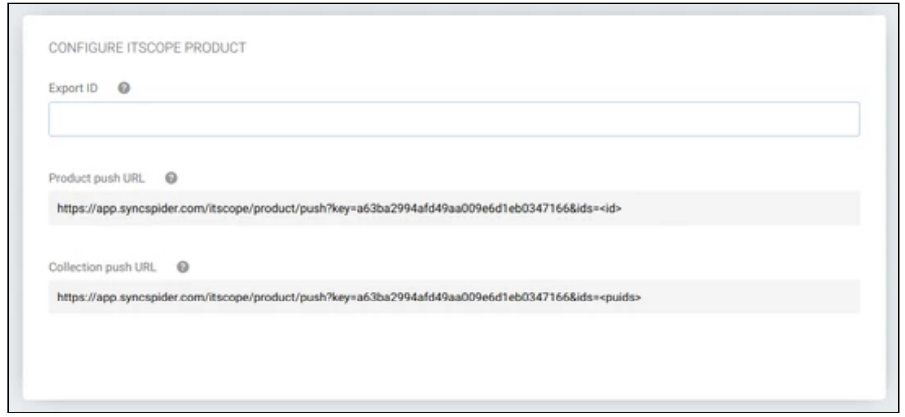
The import of ITscope products via Syncspider into your shop system is now possible.